Have you ever walked into a spa or a yoga studio and immediately felt your shoulders drop? There is something about a dedicated space for wellness that signals our nervous system to relax. Now, imagine having that same feeling of sanctity and peace right in your own living room or bedroom. That is the magic of creating a personal crystal healing setup.
While it might seem intimidating to build an “altar” or designated healing space, it doesn’t require a spare room or a professional interior designer. It simply requires intention. Whether you live in a sprawling house or a cozy studio apartment, carving out a physical space for your spiritual practice is one of the most powerful gifts you can give yourself. It transforms crystal collecting from a hobby into a daily ritual of self-care.
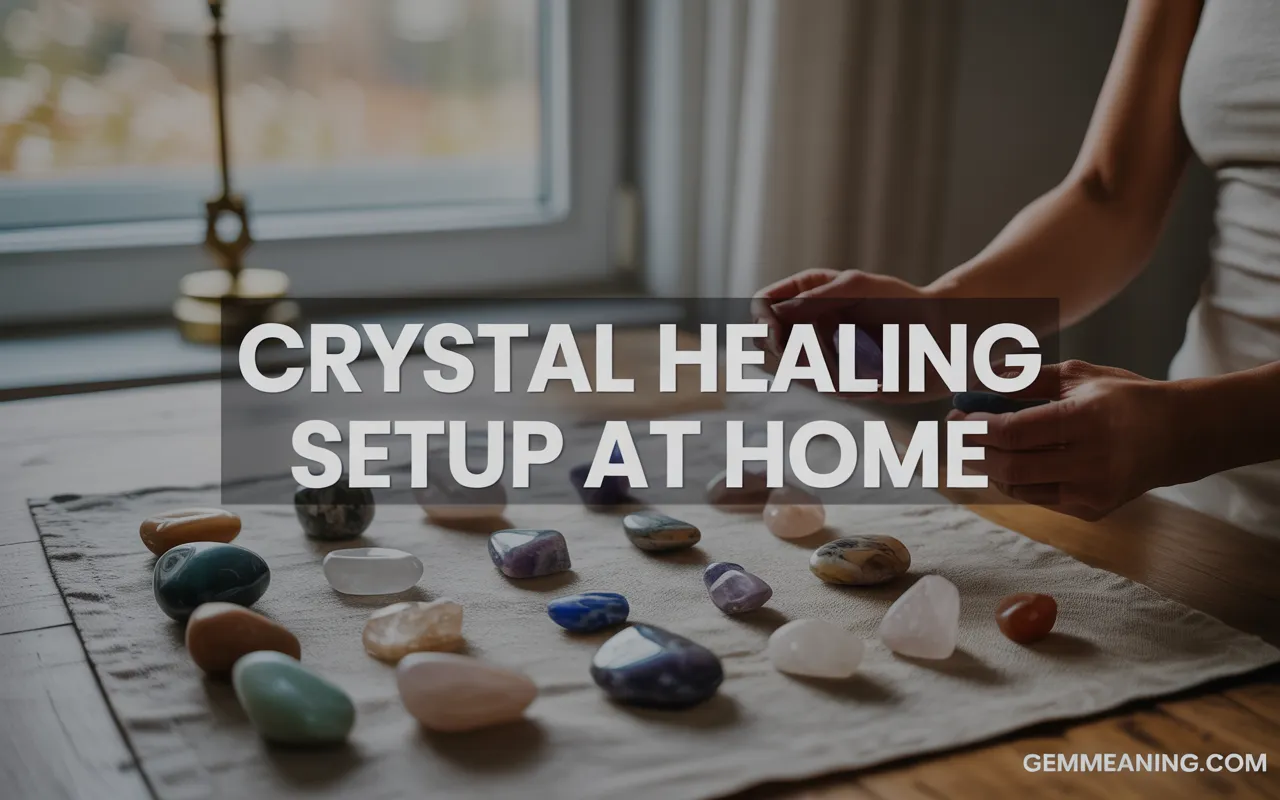
In this guide, we are going to walk through everything you need to know to build your own sanctuary. We will cover how to choose the perfect location, the essential tools you need (beyond just crystals), and step-by-step instructions for arranging your space to maximize energy flow. If you are ready to turn a corner of your home into a powerhouse of peace, let’s get started.
Why You Need a Dedicated Crystal Healing Setup
You might be wondering, “Can’t I just keep my crystals on my nightstand and call it a day?” You absolutely can. However, creating a specific crystal healing setup offers benefits that go beyond simple storage.
Anchoring the Energy
Think of your setup as an energetic anchor. When you designate a specific spot for healing, meditation, or reflection, you build a “memory” in that space. Over time, just sitting in that spot will trigger your brain to shift into a meditative state. The energy accumulates there, making it easier to drop into deep relaxation quickly.
A Visual Reminder for Self-Care
Life gets busy. It is easy to let our spiritual practices slide when work and family demands take over. Having a visible, beautiful altar acts as a gentle nudge. It reminds you to pause, take a breath, and reconnect with yourself, even if just for five minutes.
Respecting Your Tools
Crystals are energetic tools that work hard to absorb negativity and amplify your intentions. Giving them a dedicated, clean, and honored place to rest shows respect for the work they do. It keeps them physically safe from getting knocked over and energetically clear of the clutter of daily life.
Step 1: Finding the Perfect Spot
The first step in your crystal healing setup is deciding where it will live. You don’t need a lot of space—a small shelf, a windowsill, or the top of a dresser works perfectly. The key is the feeling of the location.
Low-Traffic Zones are Best
Ideally, you want a spot that isn’t in the middle of a chaotic thoroughfare. Placing your healing setup near the front door where everyone dumps their mail and keys might make the energy feel cluttered. Look for a corner in your bedroom, a quiet spot in a home office, or a dedicated meditation nook.
Consider the Elements
Natural light is wonderful for crystals, so a space near a window is often a great choice. Sunlight cleanses and charges many stones naturally. However, be careful with stones like Amethyst, Citrine, and Fluorite, as prolonged direct sunlight can fade their vibrant colors. If your spot gets intense sun, you might want to use a sheer curtain.
Height Matters
If you have pets or small children, a floor-level setup might not be practical (or safe!). Cats, in particular, love to knock small stones off ledges. A high shelf or a dresser top ensures your crystals stay put and your practice remains undisturbed.
Step 2: Clearing and Preparing the Space
Before you place a single stone, you need to prepare the energetic foundation. You wouldn’t paint a wall without cleaning it first; the same logic applies here.
Physical Cleaning
Start with the mundane. Dust the surface, wipe it down, and remove any clutter. If you are using a table that is usually covered in receipts or coffee cups, clear it completely. This is a fresh start.
Energetic Cleansing
Once the physical dust is gone, it is time to clear the energetic dust. Stagnant energy can hang out in corners and on surfaces.
- Smoke: safely burn sage, palo santo, or rosemary and waft the smoke over the area.
- Sound: Ring a bell or clap your hands loudly in the corners to break up static energy.
- Sprays: Use a simple spray of salt water (or moon water!) to mist the air, setting the intention that this space is now sacred and clear.
Step 3: Essential Elements for Your Setup
A crystal healing setup is about more than just rocks. To create a balanced ecosystem of energy, it helps to incorporate the four elements: Earth, Air, Fire, and Water. This creates a sense of wholeness.
Earth (The Crystals)
This is obviously the star of the show. We will get into specific layouts later, but your crystals represent the grounding, stable energy of the Earth.
Air (Incense or Feathers)
To represent the element of Air, you can include incense, a smudge stick, or a beautiful feather found on a walk. Air represents the mind, communication, and the breath—vital parts of any meditation practice.
Fire (Candles)
A candle is a must-have for most setups. The flame represents transformation, passion, and the “spark” of spirit. Lighting a candle is also a fantastic way to signal the beginning of your ritual or meditation time.
Water (A Vessel)
Include a small bowl of water or moon water. Water represents emotion, flow, and intuition. It also acts as an energetic “trap” for negativity; just be sure to change the water frequently so it stays fresh.
Step 4: Arranging Your Crystals
Now comes the fun part: placing your stones. There is no hard and fast rule here, but there are a few layout strategies that can maximize the flow of your crystal healing setup.
The Intuitive Layout
This is the best method for beginners. Simply pick up your stones one by one and place them where they “feel” right. Trust your gut. You might find you want all your blue stones on the left and your dark stones on the right. Your intuition knows how to balance the energy you need right now.
The Chakra Ladder
This is a great layout for overall balance. Arrange your stones in a line or a semi-circle based on the chakra colors, moving from the dense, grounding stones to the high-vibration spiritual stones.
- Root: Black Tourmaline or Red Jasper
- Sacral: Carnelian
- Solar Plexus: Citrine or Tiger’s Eye
- Heart: Rose Quartz or Green Aventurine
- Throat: Blue Lace Agate or Sodalite
- Third Eye: Amethyst or Lapis Lazuli
- Crown: Clear Quartz or Selenite
The Generator Layout
If you have a large “generator” crystal (a standing tower or a large point), place this in the absolute center of your setup. Arrange smaller tumbled stones around it in a circle. The center stone acts as the broadcaster, sending the energy of the surrounding stones out into the room.
The Grid Layout
For specific intentions (like manifesting money or protection), you can set up a crystal grid. This involves using a geometric pattern (often printed on a cloth or board) and placing stones at intersecting lines to direct energy toward a specific goal. This can remain on your altar until your goal is reached.
Step 5: Essential Tools to Keep Nearby
Your crystal healing setup should be functional. If you have to run to another room to grab a lighter or a journal, you break the flow of your practice. Consider keeping a small basket or drawer nearby with these essentials:
- A Lighter or Matches: For your candles and incense.
- A Journal and Pen: To record insights immediately after meditating.
- Cleansing Tools: A piece of Selenite or a small spray bottle of sage mist to refresh your crystals quickly.
- An Eye Mask: If you plan to lay down next to your setup for deep meditation.
Step 6: Activating Your Space
You have picked the spot, cleaned it, and arranged your beautiful stones. Now you need to turn the key and switch the engine on. Activating your crystal healing setup connects your intention to the physical objects.
State Your Intention
Stand or sit before your new altar. Close your eyes and take a few deep breaths. Speak out loud (or silently) what this space is for.
- “I activate this space for peace and healing.”
- “This is my sanctuary for recharging and clarity.”
- “I welcome only high-vibrational energy into this corner.”
Light the Candle
Lighting the candle for the first time is a symbolic act of “opening” the space. As you watch the flame, visualize a dome of golden light expanding from your altar to fill the entire room.
The Daily Interaction
A setup only works if you engage with it. You don’t need to do a grand ritual every day. Simply touching a stone as you walk by, lighting the incense while you read, or sitting there for two minutes of breathing keeps the energy alive and active.
Advanced Tips for Specific Intentions
Once you have the basics down, you can tweak your crystal healing setup to support specific phases of your life. Here is how to customize your space.
For Deep Sleep and Dreaming
If your setup is in your bedroom, focus on calming, low-energy stones.
- Stones: Amethyst, Lepidolite, Moonstone, and Blue Lace Agate.
- Vibe: Keep the colors cool (blues, purples, whites). Avoid high-energy stones like Carnelian or Sunstone, which might keep you awake.
- Tip: Place a piece of Selenite under the bed or on the nightstand to keep the energy clear while you sleep.
For Abundance and Work Success
If your setup is in your office, build it for power and focus.
- Stones: Citrine, Pyrite, Green Aventurine, and Clear Quartz.
- Vibe: Use golds and greens. Place a written intention or a dollar bill under your center crystal to anchor your financial goals.
- Tip: Orient your setup so you can see it while you work. It acts as a visual affirmation of your success.
For Protection and Shielding
If your home feels chaotic or you have difficult neighbors, create a protective perimeter.
- Stones: Black Tourmaline, Obsidian, Smoky Quartz, and Hematite.
- Vibe: Darker, grounding colors.
- Tip: You can actually grid your entire house by placing four pieces of Black Tourmaline in the four main corners of your home, effectively turning your whole living space into a giant healing setup.
Maintenance: Keeping the Vibe High
A crystal healing setup is not a “set it and forget it” project. Just like your home gets dusty, energy gets stagnant. To keep your sanctuary potent, you need to maintain it.
Weekly Dusting
Crystals attract dust like magnets. A dusty crystal can’t reflect light, and energetically, it can feel dull. Use a soft microfiber cloth or a clean makeup brush to gently dust your stones and the surface they sit on.
Monthly Deep Cleanse
Ideally around the Full Moon, take everything off the altar. Wipe down the surface. Cleanse your crystals (using smoke, sound, or moonlight). Re-state your intentions as you put them back. This resets the energy for the month ahead.
Rotate Your Stones
You change, and your needs change. The stones you needed for anxiety last month might not be what you need for confidence this month. Don’t be afraid to swap stones out. Put some away in a drawer and bring new ones onto the altar. Trust your intuition on when it is time for a refresh.
Common Mistakes to Avoid
Even with the best intentions, there are a few pitfalls that can lower the vibration of your space.
- Clutter Creep: It starts with a hair tie, then a coffee cup, then a stack of mail. Before you know it, your sacred space is a junk drawer. Be vigilant about keeping non-magical items off your altar.
- Overcrowding: It is tempting to put every crystal you own on display. But too many stones can create chaotic, buzzing energy. It is better to have three stones that are working well than fifty stones that are fighting for attention. Space equals peace.
- Neglect: The saddest altar is one that is ignored. If you find you never go to your setup, ask yourself why. Is it in the wrong spot? Is it too cluttered? Re-evaluate and move it if necessary.
Final Thoughts: Your Sacred Reflection
Creating a crystal healing setup at home is ultimately an act of creativity and self-love. It is a physical manifestation of your inner world. When you look at your setup, you should feel a sense of “ah, yes, this is me.”
There is no perfect way to do this. Your altar doesn’t need to look like an Instagram photo. It needs to feel right to you. Whether it is a tiny corner of a bookshelf with one rock and a tea light, or an elaborate table covered in geodes, what matters is the intention you pour into it.
So, look around your home today. Where is that little pocket of space waiting to be transformed? Grab your favorite stone, clear off a surface, and claim that space for your own healing. You deserve a sanctuary, and you have the power to build it right now.
Happy creating!