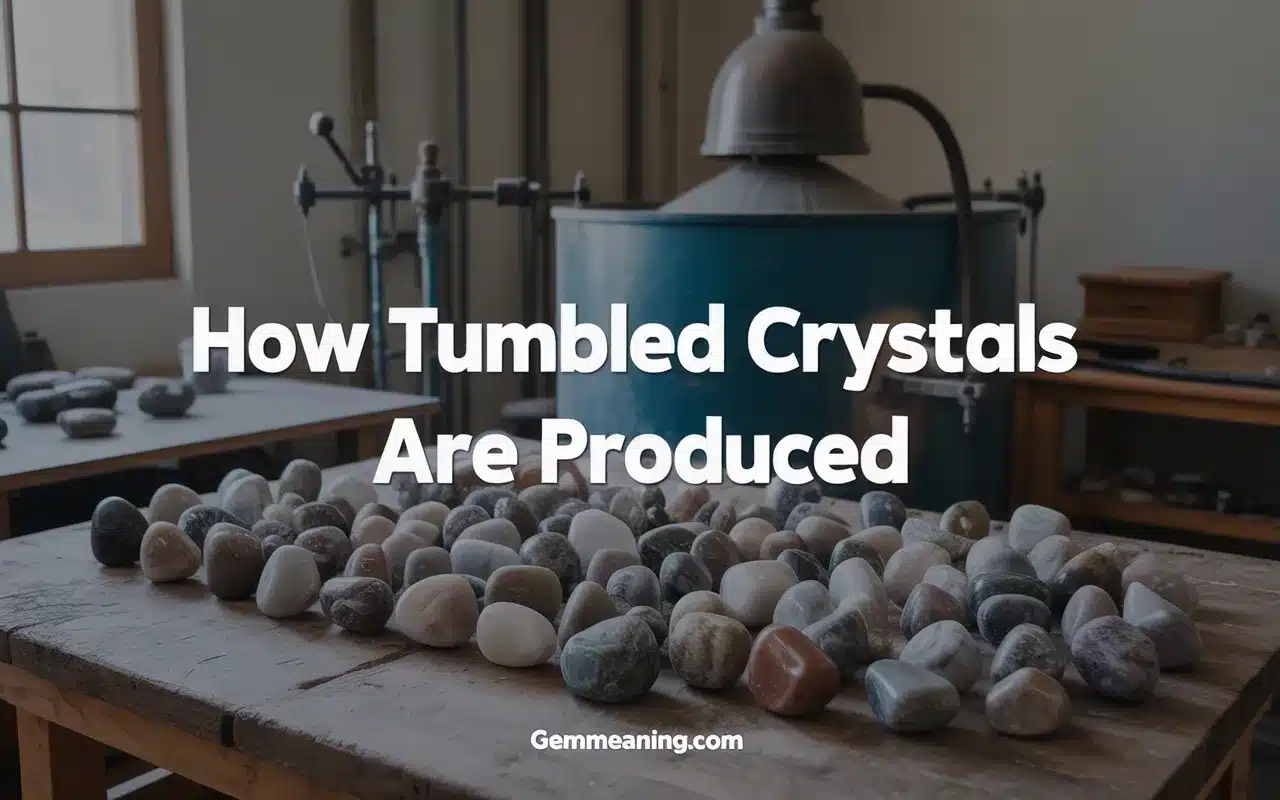
Have you ever held a perfectly smooth, polished stone in your hand and felt its comforting weight? Those little glossy gems, often found in museum gift shops and crystal stores, are known as tumbled crystals. They are the pocket-sized, worry-stone version of the raw, jagged minerals they come from. Their transformation from a rough rock into a polished treasure seems almost magical.
But the process isn’t magic—it’s a fascinating technique that mimics nature’s own way of smoothing stones in a riverbed or on a shoreline, only much, much faster. Understanding how tumbled crystals are made can deepen your appreciation for these beautiful little stones and help you see the care and patience that goes into creating them.
This guide will pull back the curtain on the rock tumbling process. We will walk you through the journey of a stone, from a rough chunk of rock to a shiny, polished gem. You will learn about the equipment, the steps involved, and what makes this process so special. Let’s explore the art and science of making beautiful tumbled crystals.
What Are Tumbled Crystals, Exactly?
Before we dive into the “how,” let’s be clear on the “what.” Tumbled crystals are small, rounded, and brightly polished pieces of rocks, minerals, and gemstones. They get their name from the machine that makes them: a rock tumbler.
The process involves placing rough, angular rocks into a barrel along with abrasive grit and water. The barrel then rotates, or tumbles, for weeks at a time. This constant motion causes the rocks to rub against each other and the grit, gradually grinding down the sharp edges and smoothing the surfaces.
Think of it like an accelerated version of what happens on a beach. Ocean waves toss rocks and sand together for thousands of years, resulting in smooth, rounded sea glass and pebbles. A rock tumbler achieves a similar result in just a matter of weeks. The result is a collection of stones that are comfortable to hold, beautiful to look at, and perfect for a wide variety of uses.
The Equipment: A Look Inside a Rock Tumbler
The star of the show is the rock tumbler itself. While there are different types, they all operate on the same basic principle. A standard hobbyist rock tumbler consists of a few simple parts.
The Tumbler Barrel
This is the container where all the action happens. It’s usually made of rubber or plastic and has a watertight seal. Rubber barrels are often preferred because they are much quieter than plastic ones. The inside of the barrel is where you place the rocks, grit, and water.
The Motor and Frame
The barrel sits on a frame that is connected to a small electric motor. When turned on, the motor slowly rotates the barrel, causing the contents inside to continuously cascade and fall against each other. This constant motion is the key to the entire polishing process.
The Grit and Polish
The real work is done by a series of silicon carbide grits. This material is harder than most of the rocks being tumbled, so it effectively sands them down. The process uses a sequence of grits, from coarse to very fine.
- Coarse Grit: Used in the first stage to do the heavy shaping and remove rough edges.
- Medium Grit: Smooths the surface further and removes the scratches left by the coarse grit.
- Fine Grit (or Pre-Polish): Continues to refine the surface, preparing it for the final polish.
- Polish: A very fine powder, often made of aluminum oxide or cerium oxide, that gives the stones their final glossy, “wet” look.
Now that we know the tools, let’s explore the step-by-step process of creating tumbled crystals.
The Four-Step Tumbling Process
Creating beautiful tumbled crystals is a journey of patience. The entire process is typically divided into four distinct stages, each taking about a week to complete. Skipping a step or rushing the process will result in dull, scratched stones.
Step 1: The Coarse Grind (Shaping the Stones)
The first stage is all about shaping. This is where the rough, angular rocks begin their transformation into rounded stones.
What Happens:
The tumbler barrel is filled about two-thirds full with rough stones of various sizes. Coarse grit (usually around 60/90 grit) and water are added. The barrel is sealed and left to tumble for about 7 to 10 days.
During this time, the constant tumbling action causes the rocks to grind against each other and the sharp grit. This aggressively removes all the sharp points, edges, and rough texture from the surface of the stones.
The Result:
After a week, the stones are opened, rinsed, and inspected. They will be noticeably smaller and much more rounded, but their surface will be dull and covered in tiny scratches. The water inside will have turned into a thick, muddy slurry from the ground-up rock and grit. This is the most dramatic change in the entire process.
Step 2: The Medium Grind (Smoothing the Surface)
Once the stones have their desired shape, it’s time to start smoothing them out. The goal of this stage is to remove the scratches left behind by the coarse grit.
What Happens:
The stones are thoroughly cleaned to remove every trace of the coarse grit. Any leftover coarse grit would ruin the subsequent stages. The stones are then placed back into the clean barrel with medium grit (around 120/220 grit) and fresh water. The tumbler is set to run for another 7 to 10 days.
The medium grit is less aggressive than the coarse grit. It works to smooth the surfaces of the stones, creating a more uniform and matte finish.
The Result:
At the end of this stage, the stones will feel much smoother to the touch. They will look satiny when wet, but still dull when dry. The scratches from the first stage will be gone, replaced by much finer, less noticeable scratches from the medium grit.
Step 3: The Fine Grind (Pre-Polishing)
This is the crucial pre-polishing step. The goal here is to get the surface of the stones as smooth as humanly possible before the final polish is applied. A good polish is impossible without a perfect pre-polish.
What Happens:
Again, the stones and the barrel are meticulously cleaned. Any contamination from the previous grits would be disastrous at this point. The stones are put back in the barrel with a fine grit (often called pre-polish, around 500 or 600 grit) and water. The tumbler runs for another 7 days.
This very fine grit removes the tiny scratches from the medium grind, leaving the stones with an incredibly smooth, almost frosted-glass appearance.
The Result:
After this stage, the tumbled crystals are exceptionally smooth. When dry, they will have a dull sheen or a soft luster. When wet, they will look almost polished. This is the final preparation before the magic of the final polish.
Step 4: The Polishing Stage (Bringing Out the Shine)
This is the final and most exciting step, where the tumbled crystals get their brilliant, glossy shine.
What Happens:
After another rigorous cleaning, the stones go back into the barrel. This time, instead of grit, a special polishing powder is added. Aluminum oxide is the most common type of polish.
Something important often changes in this stage: plastic pellets are usually added to the barrel. These pellets act as a cushion, preventing the stones from chipping or bruising each other. They also help carry the polish to all surfaces of the stones more effectively. The tumbler runs for a final 7 days with the polish, pellets, and water.
The Result:
When the barrel is opened after the final week, the transformation is complete. The stones that emerge are gleaming, smooth, and vibrant with color. The glossy, “wet” look is now permanent. This is the moment when all the patience pays off, revealing the beautiful tumbled crystals ready for a new home.
Why Do Some Stones Tumble Better Than Others?
Not all rocks are created equal when it comes to tumbling. The success of the process depends heavily on the type of mineral being tumbled.
The Importance of Hardness
The Mohs scale of hardness is critical in tumbling. A rock tumbler works best with stones that have a hardness of around 7 on the Mohs scale. This includes the entire Quartz family (Amethyst, Rose Quartz, Aventurine) and Agates and Jaspers. These stones are hard enough to withstand the grinding process and take a beautiful polish.
Softer stones, like Fluorite (hardness 4) or Calcite (hardness 3), can be tumbled, but it requires a much more gentle approach. They must be tumbled with other soft stones and often require special polishing compounds.
Extremely hard stones, like Corundum (Rubies and Sapphires, hardness 9), are very difficult to tumble in a standard hobbyist machine because the silicon carbide grit is not much harder than they are.
Rocks to Avoid Tumbling
Some stones should never be put in a tumbler.
- Friable Stones: Minerals like Selenite or Kyanite are too soft and brittle. They would simply disintegrate into mush.
- Toxic Minerals: Some raw minerals can release toxic dust when ground down. Raw Malachite, for example, is best handled by professionals.
- Stones with Cavities: Rocks with lots of pits or holes (vuggy rocks) are difficult to clean between stages, which can contaminate the whole batch.
From Rough to Polished: A Visual Transformation
It can be hard to appreciate the journey of tumbled crystals without visualizing the change.
- A Raw Chunk of Rose Quartz: It starts as a jagged, opaque pink rock with a rough texture and uneven breaks.
- After the Coarse Grind: It becomes a rounded, egg-like shape, but its surface is dull and grayish-pink.
- After the Fine Grind: It is perfectly smooth with a soft, matte pink sheen.
- After Polishing: It is a vibrant, translucent pink gem that glows from within, feeling smooth and glassy in your hand.
This journey from an unremarkable rock to a polished gem is what makes tumbled crystals so appealing. It’s a story of hidden beauty being revealed through patience and persistence.
More Than Just Pretty Stones
The process of producing tumbled crystals is more than just a mechanical one. It’s an art form that requires knowledge, patience, and a good eye. Lapidaries who produce tumbled stones on a large scale must carefully sort rocks by type and hardness to ensure each batch is successful.
For hobbyists, rock tumbling is a rewarding pastime that connects them to geology in a hands-on way. It’s a chance to take an ordinary-looking rock found on a hike and reveal its hidden inner beauty.
Whether you are a collector, a jewelry maker, or simply someone who appreciates beautiful objects, understanding how tumbled crystals are made gives them a new layer of meaning. That small, smooth stone in your pocket is not just a rock; it’s the result of a long, deliberate journey of transformation.
We encourage you to look at tumbled crystals with new eyes. Appreciate the time it took to smooth their edges and the process that brought out their vibrant color and shine. Each one is a small testament to the beauty that can be uncovered with a little bit of friction and a whole lot of patience.