Ready to turn simple stones into jaw-dropping decor? Pebble art packs major style with tiny price tags, and you can make it in a single afternoon. These ideas look bespoke, feel calming, and bring a bit of nature right into your home. Grab a handful of smooth pebbles and let’s make your walls, tables, and shelves seriously happy.
1. Pebble Family Portraits With Personality
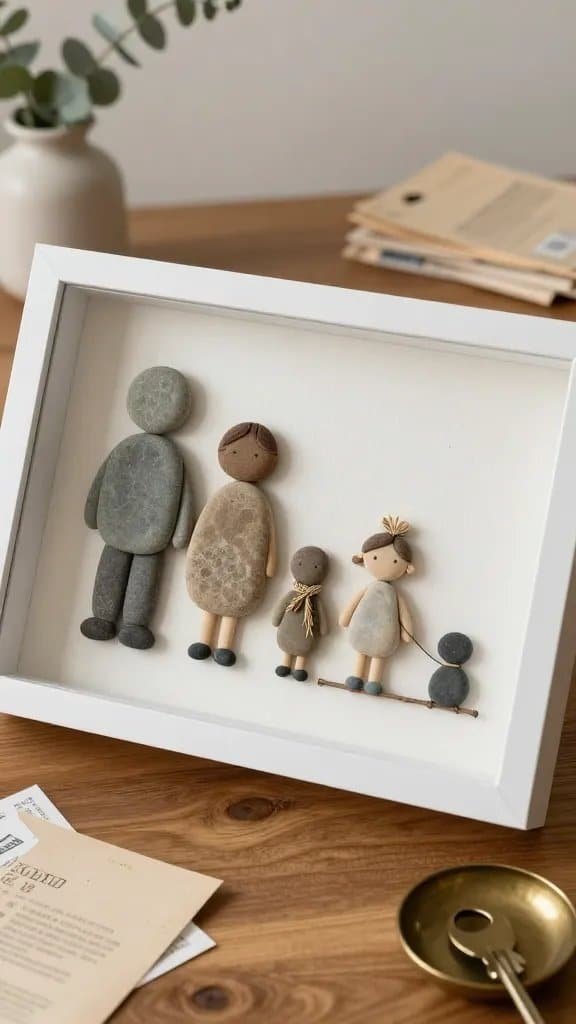
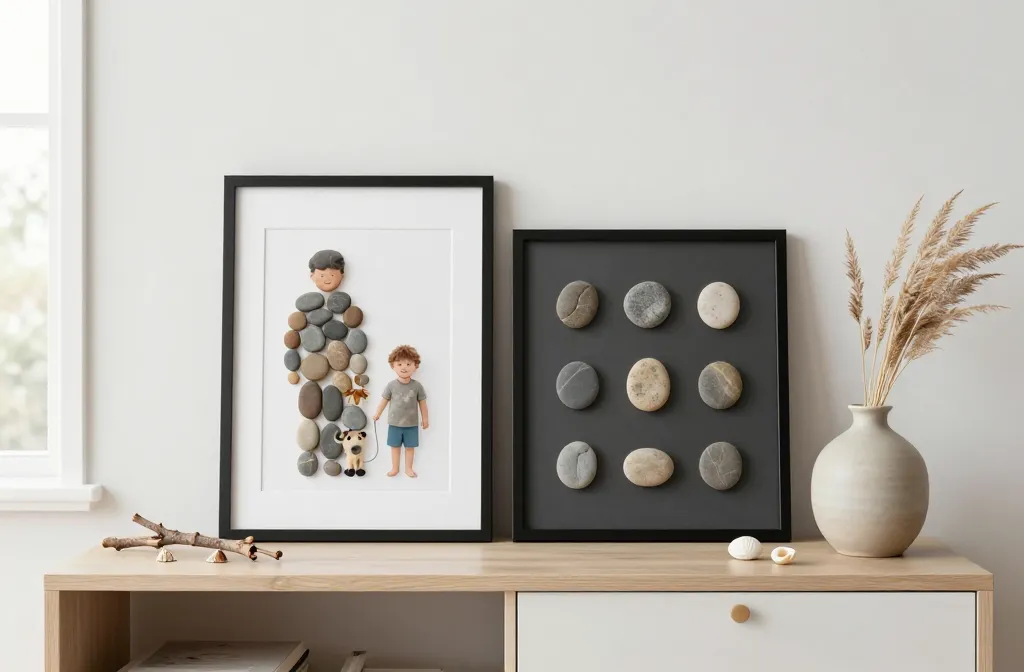
Turn your crew into a charming lineup of smooth stones. Pebble family portraits look quaint, giftable, and delightfully quirky—perfect for entryways or hall tables.
What You’ll Need
- Assorted smooth pebbles (different sizes for adults, kids, pets)
- Shadow box or deep frame
- Strong craft glue or epoxy
- Twigs, dried grass, or tiny shells for accessories
- Fine-tip paint pen for names
Arrange larger stones as adults and smaller ones as kids. Add a tiny pebble for the pet and a twig “leash” for extra cuteness. Glue everything onto a neutral cardstock and label each person with a fine pen.
Benefits: This piece becomes an instant conversation starter and a sweet gift for new homeowners or baby announcements.
2. Minimalist River-Stone Wall Grid
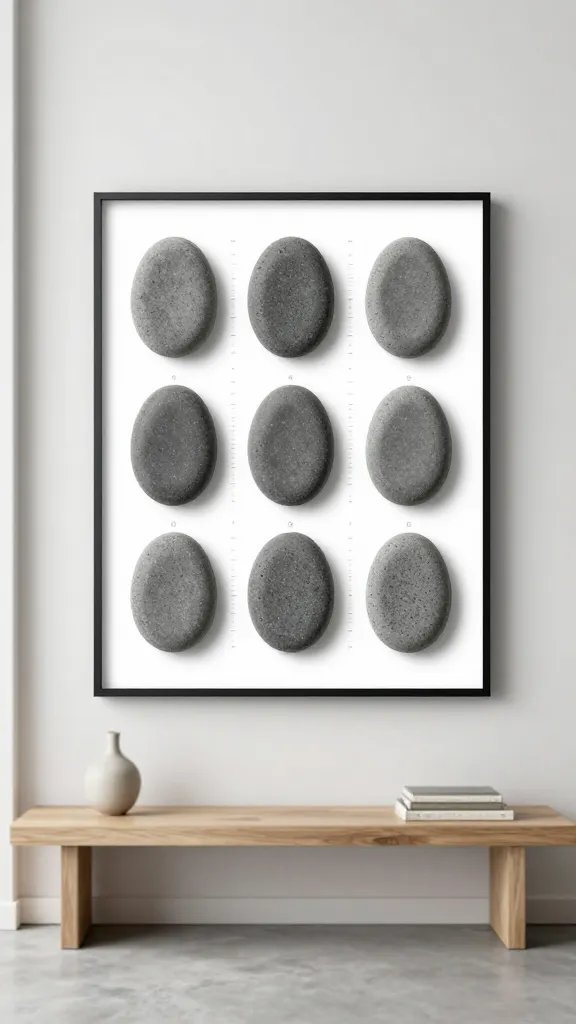
Love clean lines and zen vibes? A simple 3×3 grid of matching pebbles brings gallery-level calm to any space.
How To Nail The Look
- Pick nine nearly identical stones for a cohesive feel
- Mount them on white or charcoal mat board
- Keep spacing consistent with a ruler or grid template
Stick to one color family—think slate-gray or soft ivory—to keep it modern. Frame it with a thin black or oak frame for that museum-quality finish.
Best For: Hallways, minimalist living rooms, or offices that need a touch of nature without the fuss.
3. Boho Pebble Mandala On Canvas
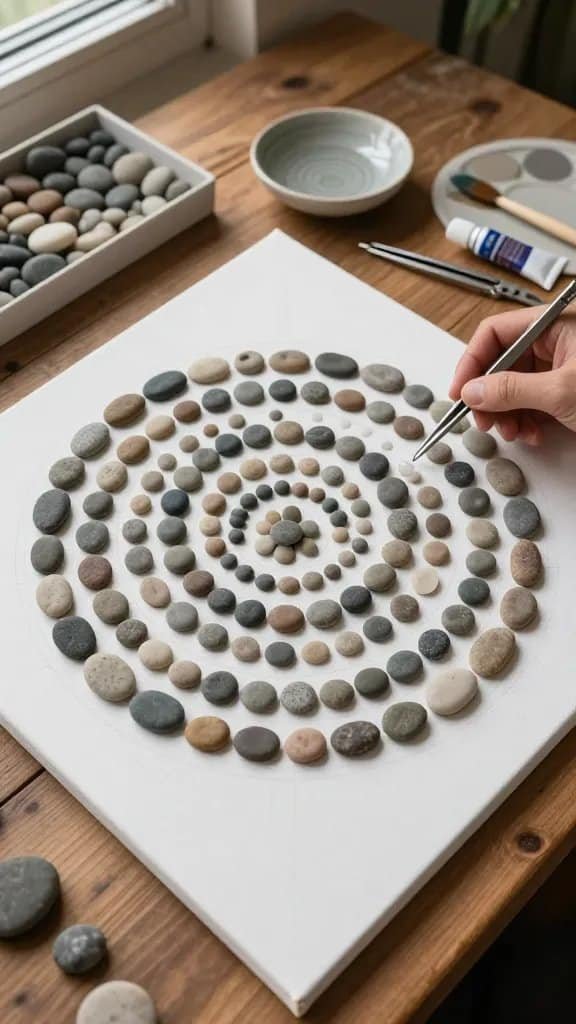
Mandalas made from pebbles look intricate but come together fast. The repeating circles calm your brain while turning a blank canvas into a boho statement.
Materials
- Stretched canvas or wood panel
- Assorted small pebbles in light-to-dark tones
- Compass or bowl to trace rings
- Matte acrylic paint for background (optional)
Paint your background, then lightly sketch concentric circles. Place the darkest stones near the center and lighten as you move outward. Glue stones in small sections so you can tweak the pattern as you go.
Why It Works: The radial symmetry feels soothing and looks expensive—great above a bed or sofa.
4. Coastal-Inspired Pebble Fish School
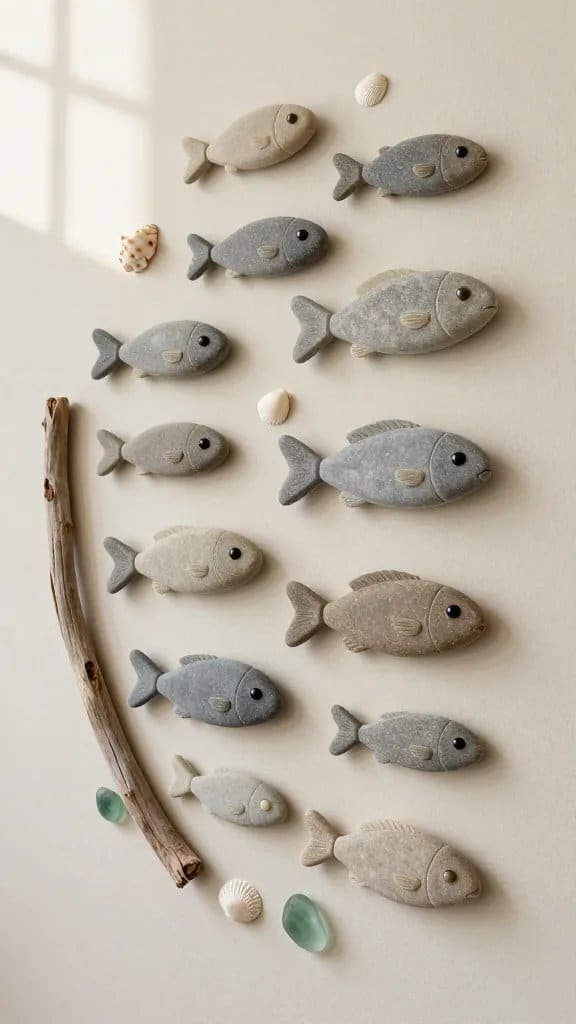
Want coastal charm without the cheesy beach signs? Create a school of fish from elongated pebbles and add tiny shells for fins.
Tips For A Natural Look
- Choose oval pebbles for bodies and triangle chips for tails
- Use a thin driftwood stick as “seaweed” for texture
- Dot a tiny eye with a paint pen or glued micro-bead
Arrange your fish to “swim” in one direction for motion. Mount on a soft blue or sandy background to sell the seaside vibe.
Perfect For: Bathrooms, beach houses, or anyone who hoards sea glass (no judgment, same).
5. Botanical Pebble Blossoms In A Shadow Box
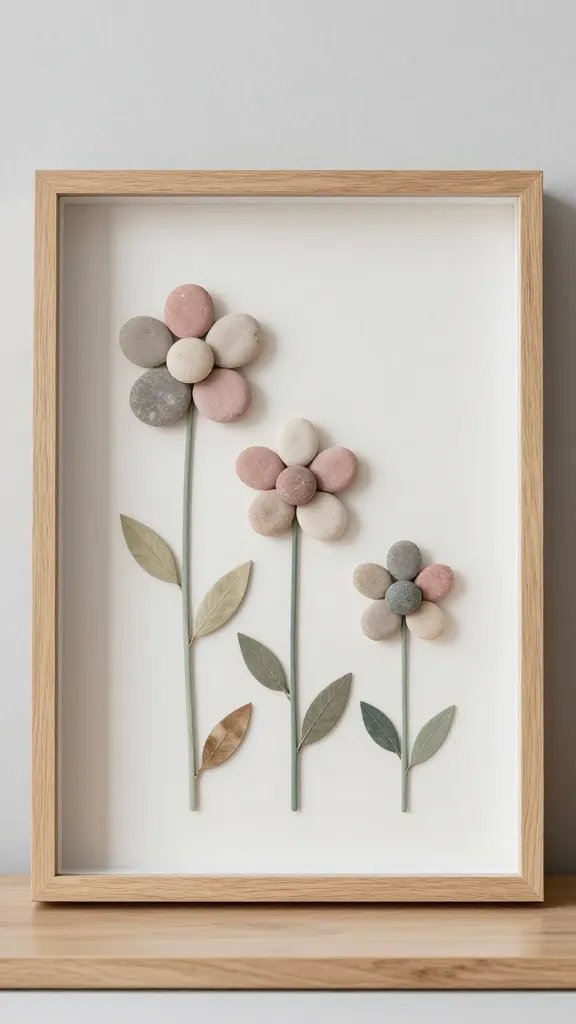
Turn pebbles into petals and let wire or painted stems pull the whole piece together. It’s simple, elegant, and wildly versatile.
Assembly
- Pick 5–7 flat, oval pebbles for each flower
- Form petals around a smaller circular stone center
- Add dried leaves or paint delicate stems directly on the background
Go monochrome for a modern vibe or mix subtle pinks, creams, and grays for softness. Cluster three flowers of different heights to create a chic, balanced composition.
Use Case: Nurseries, guest rooms, or anywhere you want gentle, organic texture.
6. Monochrome Pebble Typography (Hello, Love, Home)
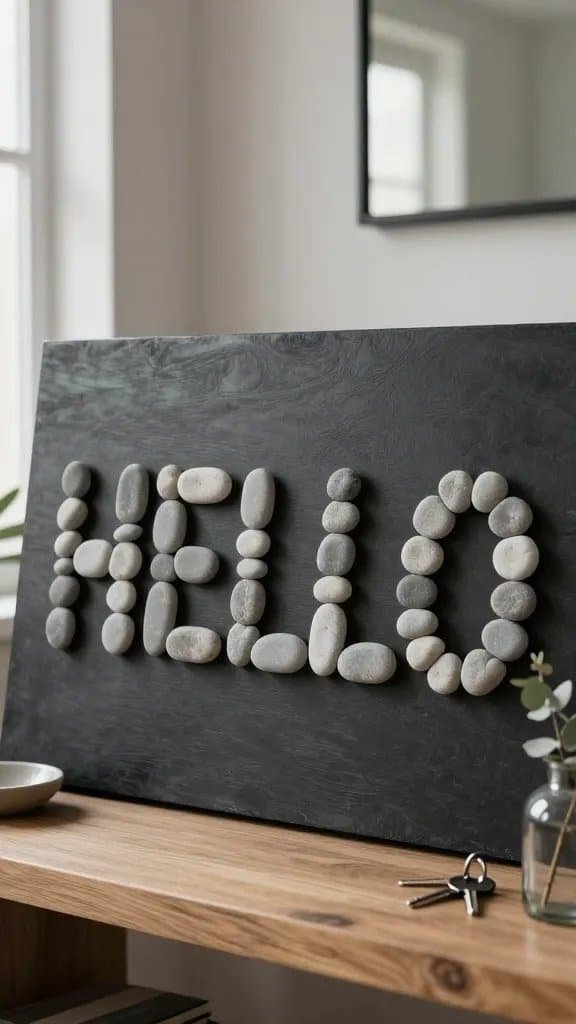
Letter art with stones feels bold and tactile. Choose a short word and keep the stones uniform for crisp, graphic lines.
Design Cheats
- Sketch block letters on your board as a guide
- Use small, flat pebbles for tight curves and clean edges
- Contrast matters—light stones on a dark board or vice versa
Words that work: “Hello,” “Gather,” “Home,” or initials for a personalized touch. Seal with a clear matte spray to lock everything in place.
Best Spot: Entryways, kitchen command centers, or gallery walls that need a punchy anchor.
7. Zen Pebble Cairn Bookends
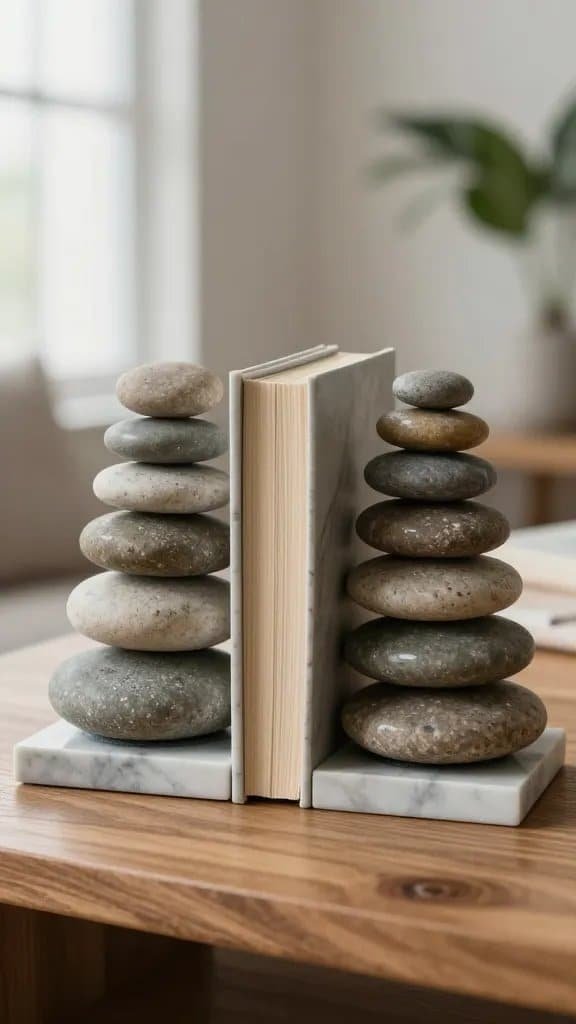
Stacked stone cairns scream calm—and they make stellar bookends. They bring natural weight, texture, and a spa-like mood to your shelves.
How To Build
- Two heavy base stones or marble tiles
- Flat pebbles in gradually smaller sizes
- Strong epoxy for vertical grip
Dry-stack first to find balance points, then glue from bottom to top. Add felt pads under the base so your shelves don’t cry.
Why You’ll Love It: You get functional art that keeps books upright and your space grounded—literally and vibe-wise.
8. Mosaic Pebble Trivet Or Tray
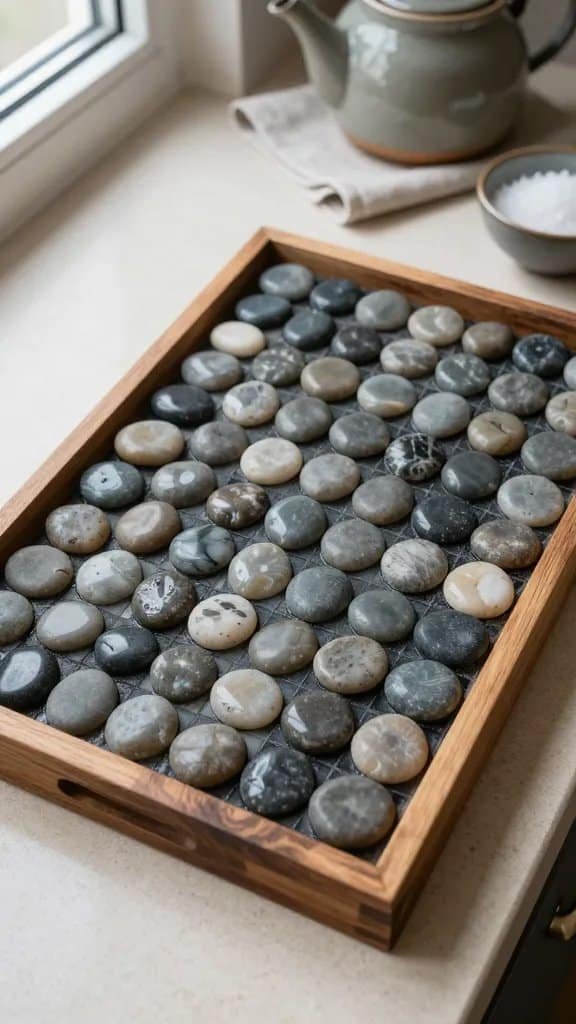
Need a stylish catchall or hot-dish trivet? A pebble mosaic tray nails both form and function, and it’s surprisingly tough.
Materials
- Shallow wooden tray or heat-safe trivet base
- Small pebbles, similar height for evenness
- Tile adhesive and sanded grout (charcoal looks luxe)
- Food-safe sealant if it’ll touch snacks
Arrange pebbles tightly to minimize grout lines, then set with adhesive. Grout, wipe, and seal for a silky, spa-like finish.
Great For: Coffee tables, kitchen counters, or bathroom vanities that need a tidy landing zone.
9. Nature Timeline: Pebble Path Memory Frame
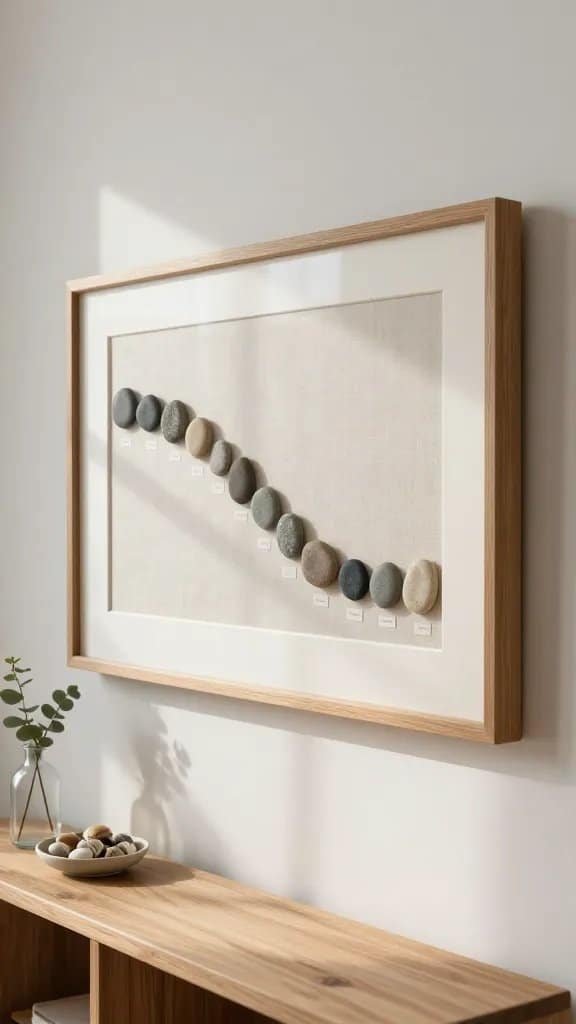
Turn travel memories into a tactile path of stones. Each pebble marks a place you visited, a hike you loved, or a beach you never wanted to leave.
Make It Meaningful
- Use a long, narrow frame or panoramic mat
- Glue pebbles in a gentle curve to mimic a path
- Add tiny labels or dates under each stone
You’ll glance at it and remember the salty air, the crunchy trail, the laughter. IMO, it beats a dusty souvenir magnet by a mile.
Best Use: Hallway galleries or offices where you need a quick mood boost between emails.
10. Pebble Planetarium Night Light
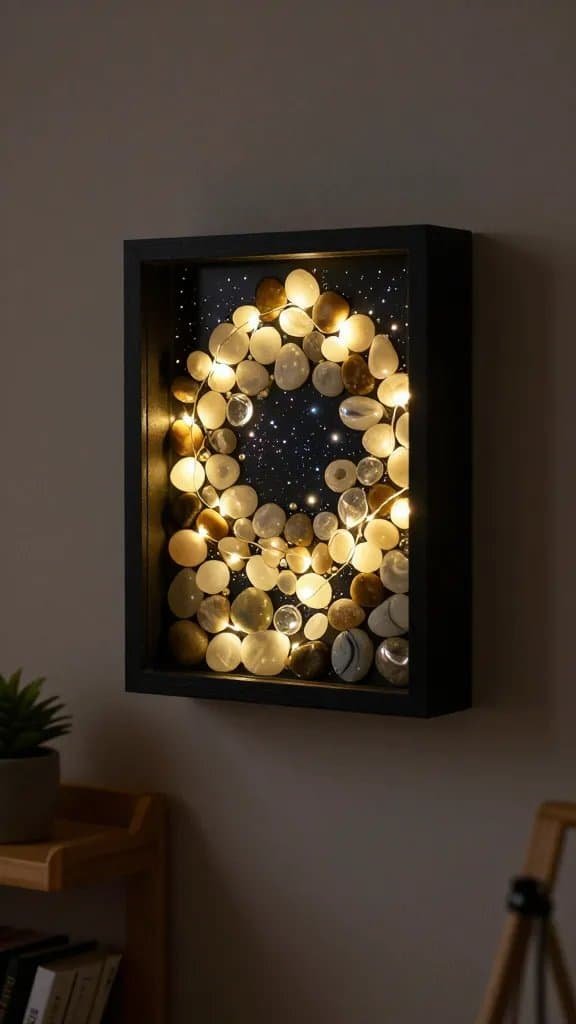
Ready for a little magic? Build a glowing wall or shelf piece that layers translucent stones over LED fairy lights for a soft, celestial shimmer.
What To Gather
- Shadow box with depth for lights
- Warm white LED string lights (battery-operated)
- Frosted glass pebbles or sea-polished stones
- Black or navy backing for contrast
Arrange lights in clusters, then glue stones on top to diffuse the glow. Dot a few metallic beads like “stars” and you’ve got yourself a dreamy, low-key night light.
When To Use: Bedrooms, nurseries, or any cozy nook that needs a subtle, starry mood—seriously soothing.
Feeling inspired yet? Start with one idea, then mix and match elements to make it yours—because rules are more like suggestions here. FYI, once you start, you’ll eye every pebble like a tiny masterpiece. Now go make something beautiful that looks boutique but costs beach-walk money.

Christian Grey is the creator of GemMeaning, where he shares simple insights about crystals, gemstone meanings, and spiritual guidance. His focus is on making complex ideas easy to understand and practical for everyday life.