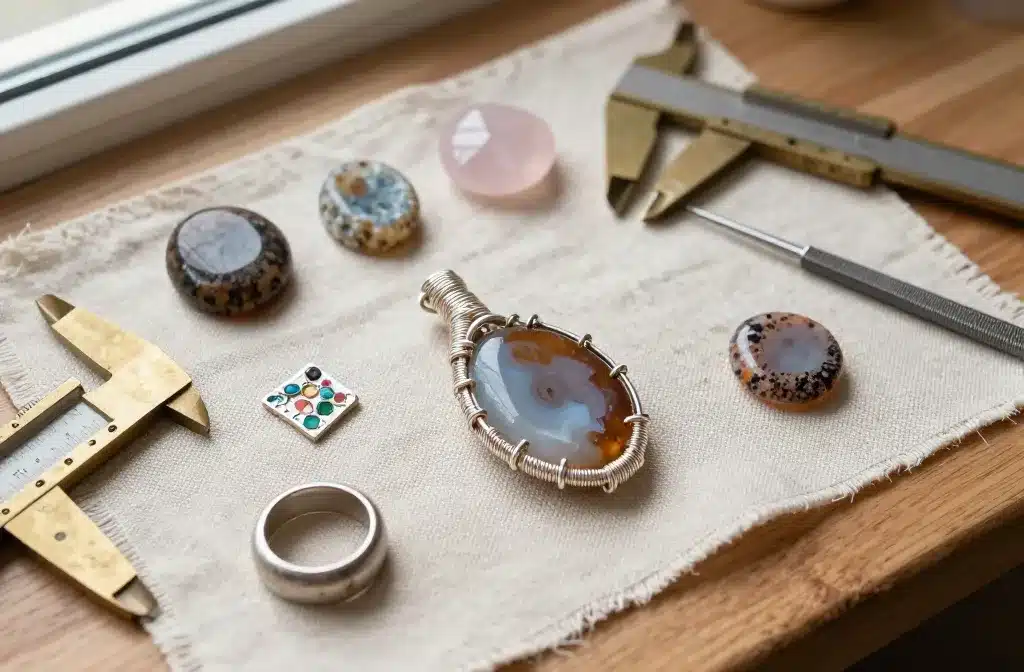
Handmade stone pieces have a presence that machine-perfect jewelry can’t imitate. You feel the weight, see tiny tool marks, and notice how light skims over a surface that was shaped by real hands. That character is the whole point—each creation becomes a small record of your time, touch, and taste.
Here, you’ll learn how to choose the right stones for projects, shape and polish them safely at home, and turn them into objects you’ll actually wear and gift. I’ll share practical gemologist-level insights—like hardness, fracture, and treatments—so your creations last and look intentional, not improvised.
We’ll cover approachable projects, from wire-wrapped pendants and beach-pebble rings to inlaid trays and pebble mosaics. Along the way, you’ll pick up tips on color pairing, care, and identifying real versus imitation materials that often sneak into craft bins.
Expect clear steps, honest shortcuts, and a few nerdy details about the rocks themselves. The goal is simple: pieces that look soulful and handmade, but never sloppy.
Choosing Stones With Character: What Works Best at Home
Start with stones that reward simple tools. Look for materials in the Mohs 5–7 range—hard enough to take a polish, not so hard you need industrial wheels. Good choices include agate, jasper, chalcedony, aventurine, sodalite, and quartz varieties like amethyst and rose quartz. They’re affordable, resilient, and colorful without being fragile.
If you love ocean-worn smoothness, beach pebbles (often basalt, granite, chert, or quartzite) make excellent, low-effort candidates. They’re naturally tumbled by nature and often have a satin sheen. River stones can show subtle banding or freckles that come alive with a little oil or wax finish.
Avoid stones that cleave easily until you build confidence. Fluorite (Mohs 4) and selenite/gypsum (Mohs 2) scratch quickly and can break along planes. Opal requires extra care, as it’s relatively soft and can craze if overheated or dried too quickly. If you’re tempted by sparkle, look for aventurine or drusy quartz before tackling brittle mica-rich schist or delicate geodes.
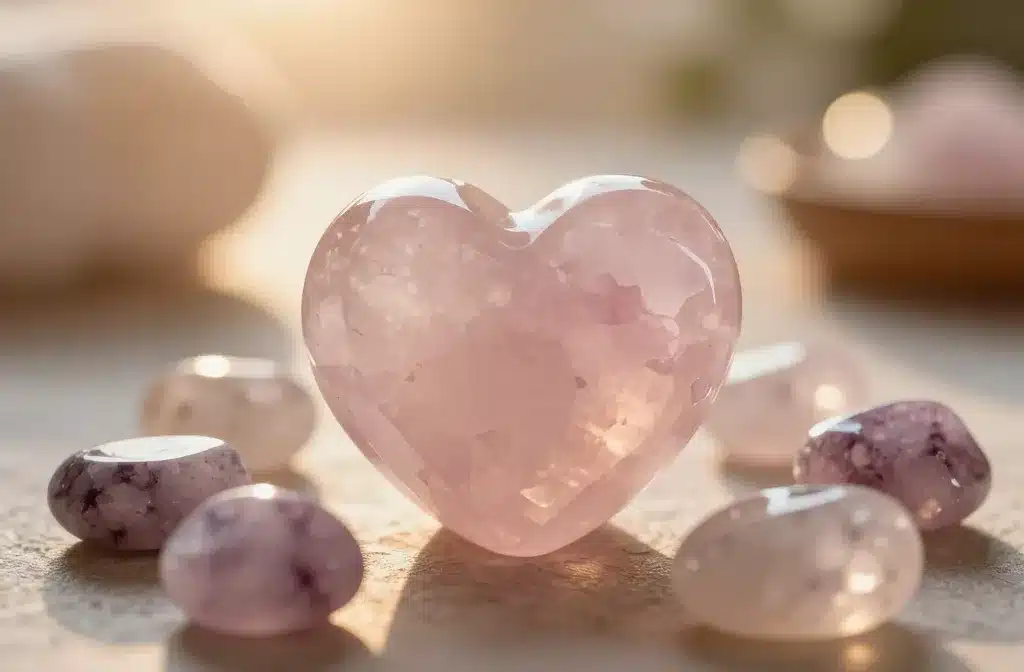
Color matters for visual impact. Deep greens, smoky grays, and russet reds ground your piece; milky chalcedony or pale rose quartz softens it. Contrast smooth stones with textures—banded agate with tiger’s-eye chatoyancy, or speckled rhyolite beside a glassy black pebble. For inspiration, explore Gemstone Colors or Gemstone Shapes to refine your palette.
Tools and Safety: The Right Setup for a Handmade Finish
You don’t need a lapidary studio to make handsome work, but a few tools go a long way:
- Hand tools: diamond needle files, 220–3000 grit wet/dry sandpaper, a small bench vise or clamp, and flush cutters.
- Shaping: a rotary tool with diamond burrs, sanding drums, and felt wheels for polishing. Keep a cup of water nearby to cool the stone.
- Drilling: a pin vise or rotary tool with diamond drill bits, plus a tray of water to submerge the drilling area. Slow speed prevents burns and cracks.
- Finishing: microcrystalline wax, mineral oil for pebbles, or cerium oxide/diamond paste for higher polish on quartz and agate.
- Metalwork basics: round-nose pliers, chain-nose pliers, and 24–20 gauge wire in copper, brass, or sterling for wraps and bails.
Safety first. Wear eye protection, a dust mask or respirator rated for fine particulates, and keep dust down with water. Rock dust isn’t just messy—silica can be harmful if inhaled. Work slowly; heat buildup causes fractures and dulls the glow of certain stones.
Handmade Aesthetics: How to Keep Soul Without Slop
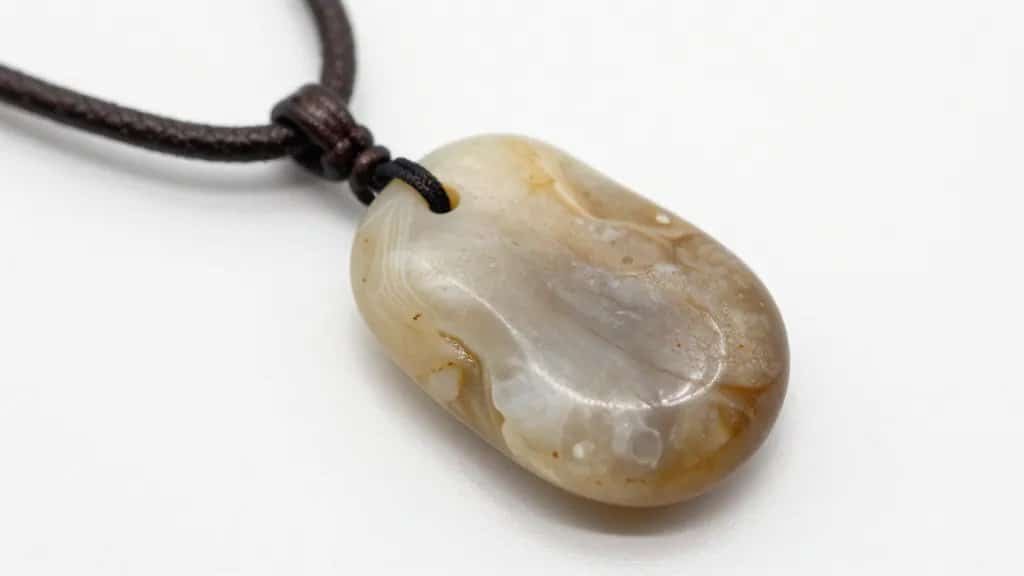
The best handmade pieces feel intentional. Embrace minor tool marks and softly uneven edges, but refine enough that the piece looks cared for. Three guidelines help:
- Emphasize existing features: follow a natural curve, highlight a vein, or frame a sparkling drusy pocket.
- Control your imperfection: stop sanding at 1000–1500 grit for a satiny pebble finish; fully polish only focal areas to create contrast.
- Keep proportions honest: a delicate stone works with finer wire and a lighter chain; a chunky beach pebble calls for a bolder bail or leather cord.
If a wrap or setting looks fussy, reduce it. The stone should be the first thing your eye catches, not the hardware.
Project 1: Wire-Wrapped Pebble or Agate Slice Pendant
This is the gateway project for a reason—it needs minimal equipment and shows your stone front and center.
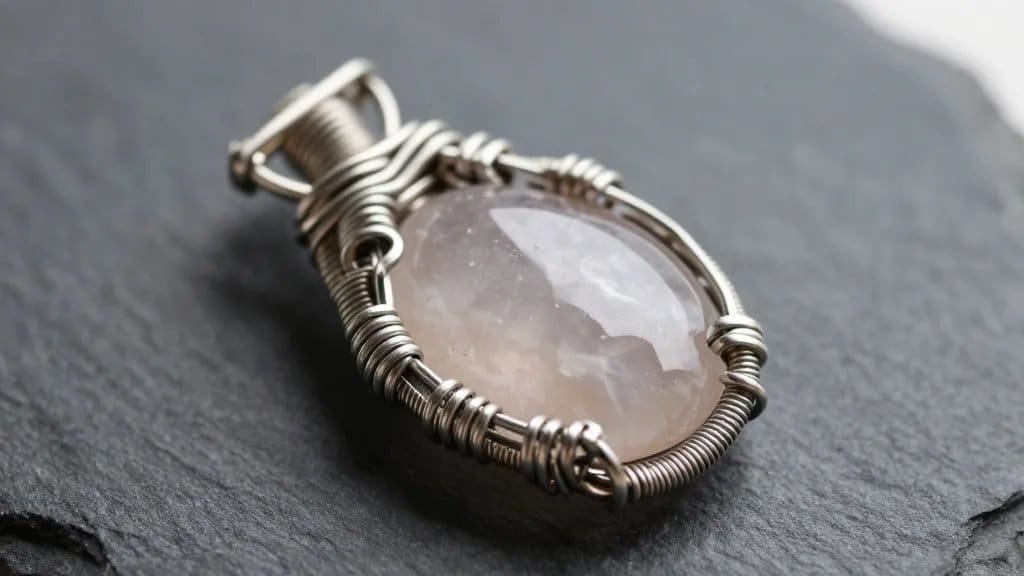
- Choose your stone. Flat-backed pebbles, agate slices, and small slabs are easiest. Aim for 3–6 cm in length. If the surface is chalky, wet-sand up to 1000 grit and wipe with mineral oil.
- Plan the wrap. Hold the stone and mark top center with a removable pencil line. Decide where wire should cradle weight—ideally across a waist or gentle groove.
- Cut wire. Start with 22–20 gauge for frames and 24–26 gauge for bindings. Softer copper is forgiving; brass holds its shape; sterling looks refined.
- Create the frame. Bend a gentle U around the lower half. Cross wires at the back and twist lightly to tighten. Wrap the front edges sparingly so you don’t cover patterns or banding.
- Form the bail. Bring both wires up to the top, wrap three neat coils around a mandrel or pen barrel, and tuck the tails with chain-nose pliers.
- Refine. Snip sharp ends, burnish with a spoon back for a smoother handmade look, and add a short length of chain or leather.
Tip: If the stone is slippery, add a subtle micro-groove with a diamond file where the wire sits. This invisible notch prevents slides without altering the look.
Project 2: Drilled Charm Stones for Bracelets and Key Fobs
Small drilled stones make tactile charms. They’re satisfying to fidget with and hold up well to daily life.
- Mark the hole. A center-punched dot or a small X with a permanent marker prevents the bit from skating. For durability, keep holes at least 3–4 mm from the edge.
- Submerge. Place the stone on a rubber mat in a shallow water tray. Drill with a diamond bit at slow speed. Lift often to let water cool the area and clear slurry.
- Deburr. Smooth both sides with a finer bit or a rolled piece of 600–1000 grit paper.
- Finish. Wipe with oil for pebbles or polish with cerium oxide for agate. Add a jump ring and cord or a sturdy split ring for keys.
Material notes: Quartzite and agate drill cleanly. Granite’s mixed grains can chip—steady pressure and fresh bits help. Soft stones like calcite need feather-light pressure or they’ll blow out at the exit.
Project 3: Simple Stone Rings Without a Full Metalsmith Bench
You can make charming rings with adjustable bands and epoxy clay, or by setting a small cabochon in a premade bezel cup.
- Cabochon route: Choose a 6–12 mm calibrated cab (round or oval) in jasper, agate, or onyx. Seat it in a silver-plated or sterling bezel cup on a ring blank. Burnish the bezel edge over the stone with a bezel pusher. This yields a clean, artisan look.
- Freeform pebble route: Use a flatter micro-pebble. Lightly scuff the back with 400 grit for adhesion. Mix a tiny pea of jeweler’s epoxy clay, press onto a simple ring base, and set the stone. Smooth edges with a damp tool. Once cured, buff with a soft cloth and wax. The clay’s matte texture reads handmade while remaining durable.
Choose stones around Mohs 6–7 for rings. Fingers meet doorknobs and countertops all day—softer materials will scuff quickly. If you love softer stones, reserve them for pendants or earrings where contact is gentler.
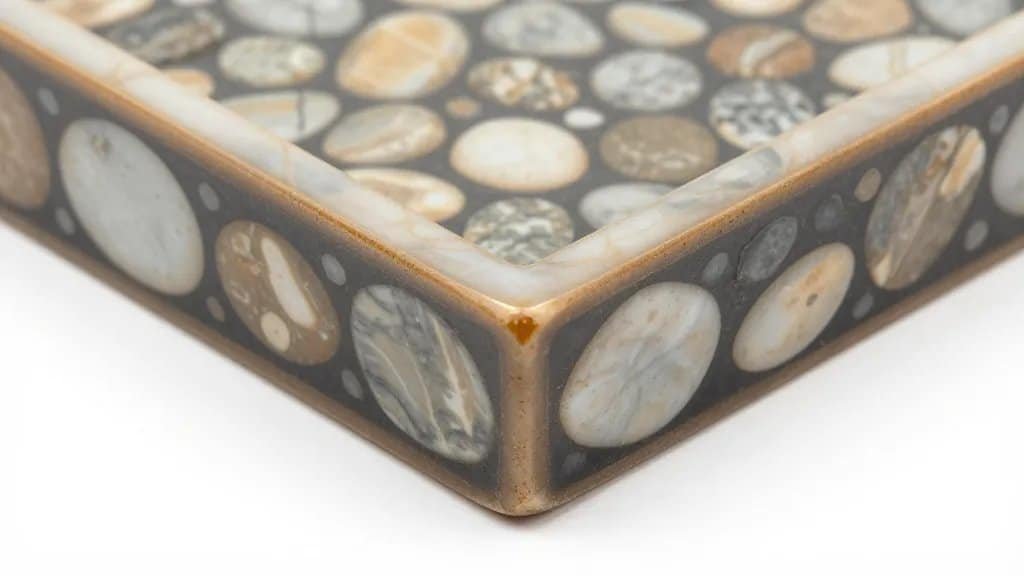
Project 4: Inlaid Trays and Coasters With Stone Chips
Inlay gives big visual payoff without delicate jewelry work. It works beautifully with crushed turquoise substitutes, jasper chips, and black onyx fragments.
- Prepare the base. Wood trays or coasters should be sealed lightly so epoxy doesn’t stain.
- Arrange the pattern. Mix stone chips of varied size for texture. Consider color gradients—cool blues to warm ambers—or mosaic motifs.
- Bind with clear epoxy. Add chips, tamp lightly, and top with a thin flood coat. Pop bubbles with a torch or exhale gently across the surface.
- Finish. Once cured, wet-sand flush with 800–1500 grit and polish. A soft, glassy finish highlights each chip like tiny windows.
Stone choice: Reconstituted “turquoise” is common in craft packs. If authenticity matters, buy from a trusted lapidary seller and ask about treatments. In inlay, stabilized turquoise is perfectly acceptable and often more durable.
Understanding Stone Properties: Hardness, Cleavage, and Treatments
A little geology prevents heartbreak. Hardness tells you scratch resistance, not toughness. Quartz (Mohs 7) resists scratches well but can still chip if struck. Aventurine (a quartz family member) shares that toughness and shows a silky sparkle from tiny mica plates. Jasper (microcrystalline quartz) is tough and forgiving for beginners.
Watch for cleavage—the tendency to split along planes. Fluorite, topaz, and some feldspars can cleave if drilled or tightened in wraps. Basalt and chert lack pronounced cleavage and behave nicely under hand tools.
Treatments are common and not the villain they’re made out to be. Dyed agate and heat-treated amethyst are stable for most uses. Stabilized turquoise—impregnated with resin—holds up better in rings and inlay. If you’re gifting or selling, transparency earns trust; see Gemstone Myths and Gemstone Buying Guide for plain-language explanations you can share with recipients.
Finding and Identifying Stones: Real vs Imitation
Craft bins sometimes mix natural stones with glass or resin. Quick checks help:
- Temperature: Natural stone feels cool to the touch; glass warms faster in hand but can start cool as well.
- Bubbles: Perfectly round bubbles often indicate glass; tiny flow lines and swirls are common in man-made materials.
- Weight: Resin is surprisingly light. Heft two similar-sized pieces to compare.
- Scratch test: A hidden edge lightly tested with a steel knife (Mohs ~5.5) can distinguish quartz family (won’t scratch) from softer calcite or resin (will mark). Use caution and test only on scrap.
When you shop online, prefer sellers who list Mohs hardness, locality, and treatments. Asking about “natural vs dyed” and “stabilized vs untreated” signals you care. If you catch the identification bug, explore Gemstone Identification and Gemstone Hardness for deeper dives.
Color Pairing and Meaning Without the Clichés
Colors carry mood. You don’t need to lean on overused metaphysical claims to design with intention:
- Grounding neutrals: Basalt, smoky quartz, and gray chalcedony create calm, minimalist pieces.
- Warm earth: Picture jasper and carnelian lend autumn richness; they sing against brass and leather.
- Cool sea: Amazonite, chrysocolla, and sodalite evoke shorelines; pair with matte silver for a modern, breezy feel.
- Contrast and highlight: A sliver of citrine against slate gray, or a drusy pocket framed by black onyx, creates focal points without clutter.
If symbolism matters to you or your recipient, a few classic nods feel timeless: amethyst for clarity, rose quartz for gentleness, and agate for steadying energy. Keep it personal and understated.
Care, Cleaning, and Long-Term Durability
Handmade doesn’t mean fragile. With small habits, your pieces age gracefully:
- Wipe after wear. Body oils dull polish over time; a microfiber cloth brings back luster.
- Avoid harsh chemicals. Remove rings before cleaners or pools—chlorine and harsh detergents can pit metal and damage softer stones.
- Refresh finishes. A dab of microcrystalline wax revives pebble sheen and offers light water resistance.
- Store smart. Wrap pieces separately to avoid mutual scratching. Quartz can scratch softer stones and metals.
For reference, consult Gemstone Care for stone-specific do’s and don’ts and Gemstone Jewelry for setting ideas that balance beauty with longevity.
Common Mistakes and How to Fix Them
Everyone makes a few missteps early on. Here’s how to recover:
- Over-wrapping the stone: If it looks cagey, remove a coil or two and anchor the remaining wrap at a natural “waist.” Less metal, more stone.
- Chipped drill exit: Chamfer slightly with a finer diamond bit and seat a metal grommet or small tube rivet—turning a flaw into a design choice.
- Cloudy polish on quartz: You likely skipped grits or overheated. Back up two grits, keep everything wet, and polish with cerium oxide on felt, feather-light pressure.
- Loose pendant in a prong or tab setting: Add a discreet shim with epoxy putty behind the stone, cure, then tighten tabs. Invisible, secure, still handmade.
Where Handmade Meets Value: Materials Worth Collecting
If you’re building a stash, a few workhorse stones consistently deliver beauty and durability:
- Montana agate: Translucent with floating mossy inclusions; polishes like glass; wonderful for pendants.
- Owyhee jasper and picture jasper: Landscape patterns that look like paintings; take a high shine and wear well.
- African bloodstone (heliotrope): Deep green with red specks; moody, classic, and tough for rings.
- Black onyx (often dyed chalcedony): A sleek foil for metals; excellent for modern designs.
Curate with eye and hand, not just price. For context on rarity, browse Collector Gemstones or Gemstone Value Guide, but remember: the handmade story you build into a piece often matters more than its wholesale cost.
FAQ
Can I polish stones without a tumbler?
Yes. Use progressive wet/dry sandpaper from 220 up to 1500–3000 grit, then buff with cerium oxide or diamond paste on felt. Keep surfaces wet and pressure light.
Which stones are safest to drill at home?
Agate, jasper, chalcedony, and quartzite drill cleanly with diamond bits under water. Avoid stones with pronounced cleavage like fluorite until you have practice.
How do I stop wire wraps from sliding off smooth stones?
Create a tiny notch with a diamond file where the wire sits, or add a hidden dab of clear epoxy under a contact point. Plan the wrap across a natural waist or groove.
What’s a good beginner stone for rings?
Jasper or black onyx (chalcedony) around Mohs 6.5–7. They’re durable, take a high polish, and resist daily bumps better than softer materials.
Are dyed or stabilized stones bad for handmade projects?
Not at all. Stabilized turquoise and dyed agate are common, durable, and attractive. Disclose treatments if selling or gifting to maintain trust.
How can I tell if a “stone” bead is actually glass?
Look for round bubbles, lighter weight, and a uniform color without natural banding. A jeweler’s loupe helps. Glass often shows curved flow lines and perfect translucency.
Why does my quartz look hazy after polishing?
Usually skipped grits or overheating. Step back a grit or two, polish wet, and use cerium oxide with minimal pressure. Haze often clears quickly with proper sequence.
Final Thoughts
Handmade stone creations succeed when you respect the material and let it lead. Choose resilient stones, work slowly with water, and highlight what nature already did well. The result is a piece that looks—and feels—authentically yours, with a polish level and design language that tell a quiet, satisfying story every time you wear it.

Christian Grey is the creator of GemMeaning, where he shares simple insights about crystals, gemstone meanings, and spiritual guidance. His focus is on making complex ideas easy to understand and practical for everyday life.